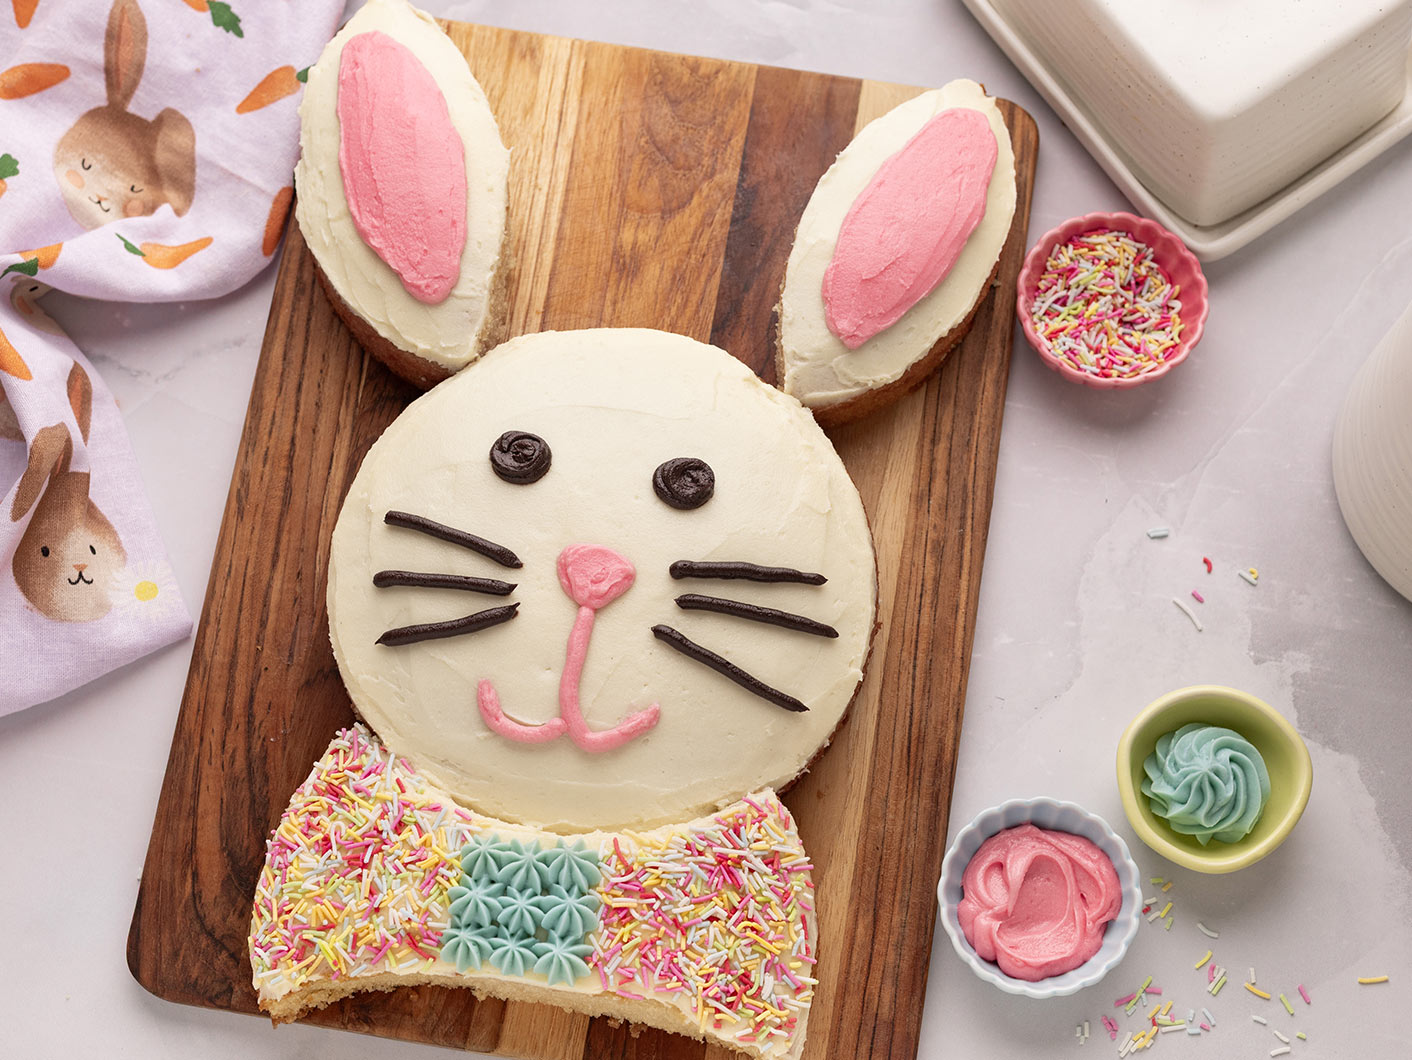
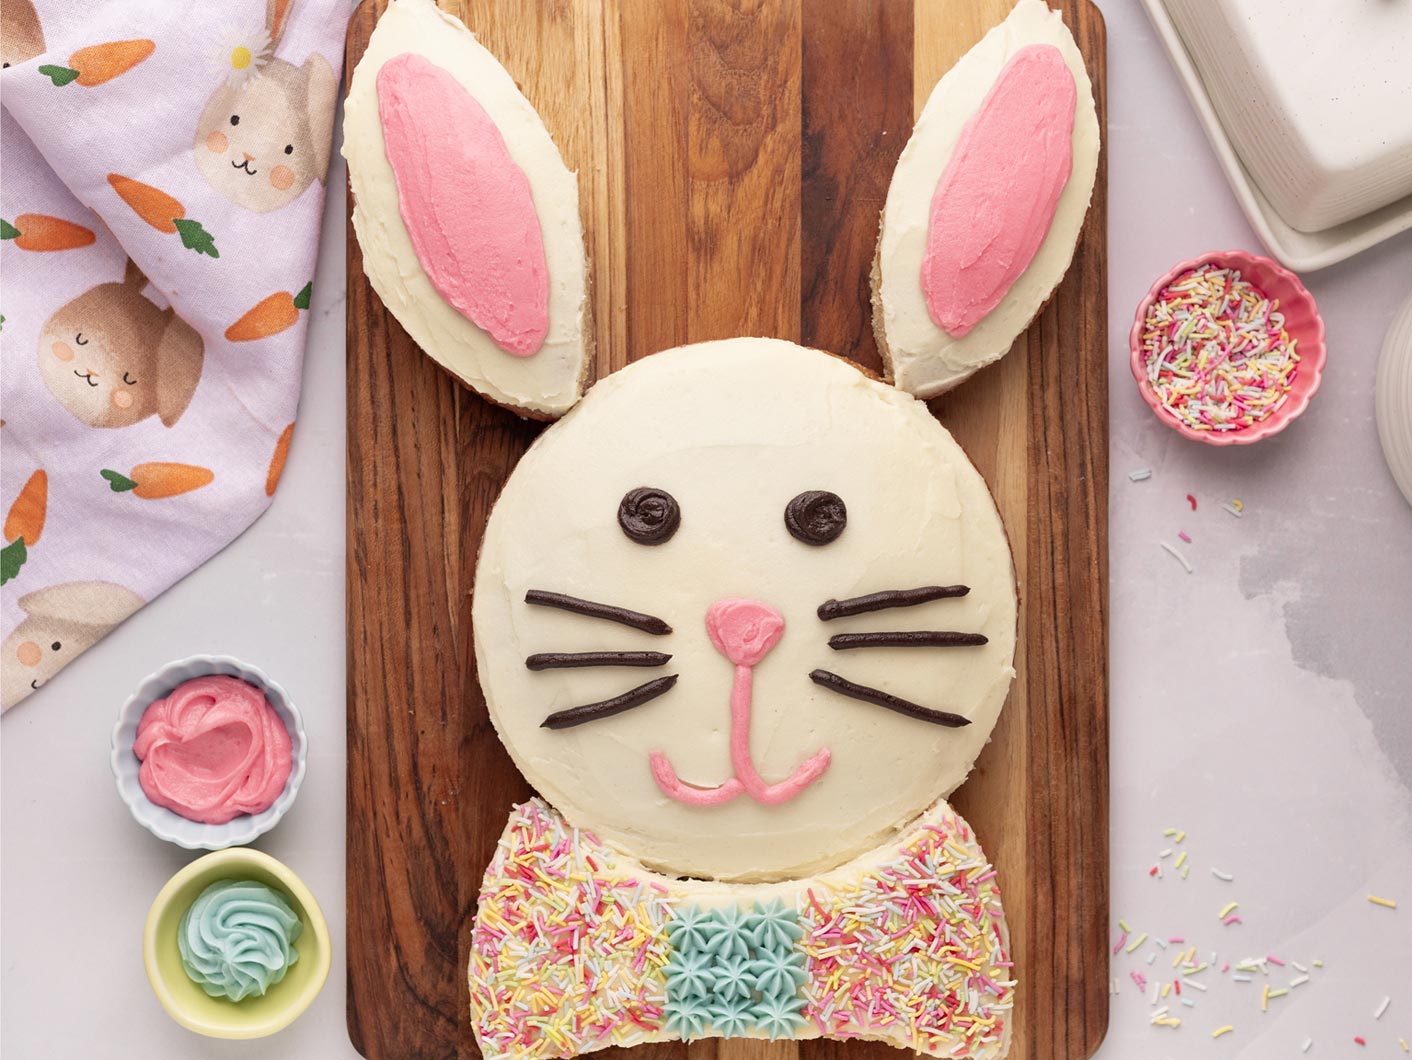
Hop into the kitchen and bring this sweet bunny to life with just two round cakes, two clever cuts with the knife, and a bit of decorating fun! Fluffy, moist, and topped with sweet vanilla frosting, it’s the perfect centrepiece for an Easter celebration — or a springtime baking adventure.
You will need
Serves 12-16
The dry ingredients:
- 3 cups (375g) plain flour
- 1 3/4 cups (350g) sugar
- 2 teaspoons baking powder
- 1/2 teaspoon baking soda
- 1/2 teaspoon salt
The wet ingredients:
- 1 3/4 cup (440g) dairy-free milk, room temperature
- 2/3 cup (165g) neutral oil
- 1 tablespoon vanilla extract
- 2 teaspoons apple cider vinegar or lemon juice
To decorate:
- 200g vegan block butter, room temperature (if using spreadable butter, use chilled)
- 3-4 cups (300-400g) icing sugar
- 2-3 tablespoons dairy-free milk or cream, as needed
- 1 teaspoon vanilla extract
- Pink and blue food colour (or desired colours)
- Cocoa powder, to colour
- Sprinkles (optional)
Recipe: Rainbow Nourishments
Directions
-
Step 1
Preheat oven to 180°C (conventional) or 160°C (fan). Line 2 x 20cm round cake tins with baking paper.
-
Step 2
Mix all the dry ingredients in a large bowl. Add the wet ingredients and mix until combined.
-
Step 3
Divide the batter between your cake tins. Bake for 25-30 minutes or until you can insert a toothpick in the centre and it comes out clean. Let the cakes cool in their tins for 20 minutes then transfer to a wire rack.
-
Step 4
While the cakes are cooling, make the buttercream. Add the butter to a large bowl and whip until light and pale. Add the icing sugar and vanilla and beat until fluffy. For a softer buttercream, mix in some milk or cream. For a firmer buttercream, mix in more sugar.
-
Step 5
Remove around 1/4 – 1/2 cup of the buttercream and divide between 2-3 small bowls. Colour each bowl of buttercream with the pink and blue food colours, and cocoa powder (you may need to add a dash of milk to the cocoa one). The coloured buttercreams are for the bunny ears, eyes, nose, mouth and bow.
-
Step 6
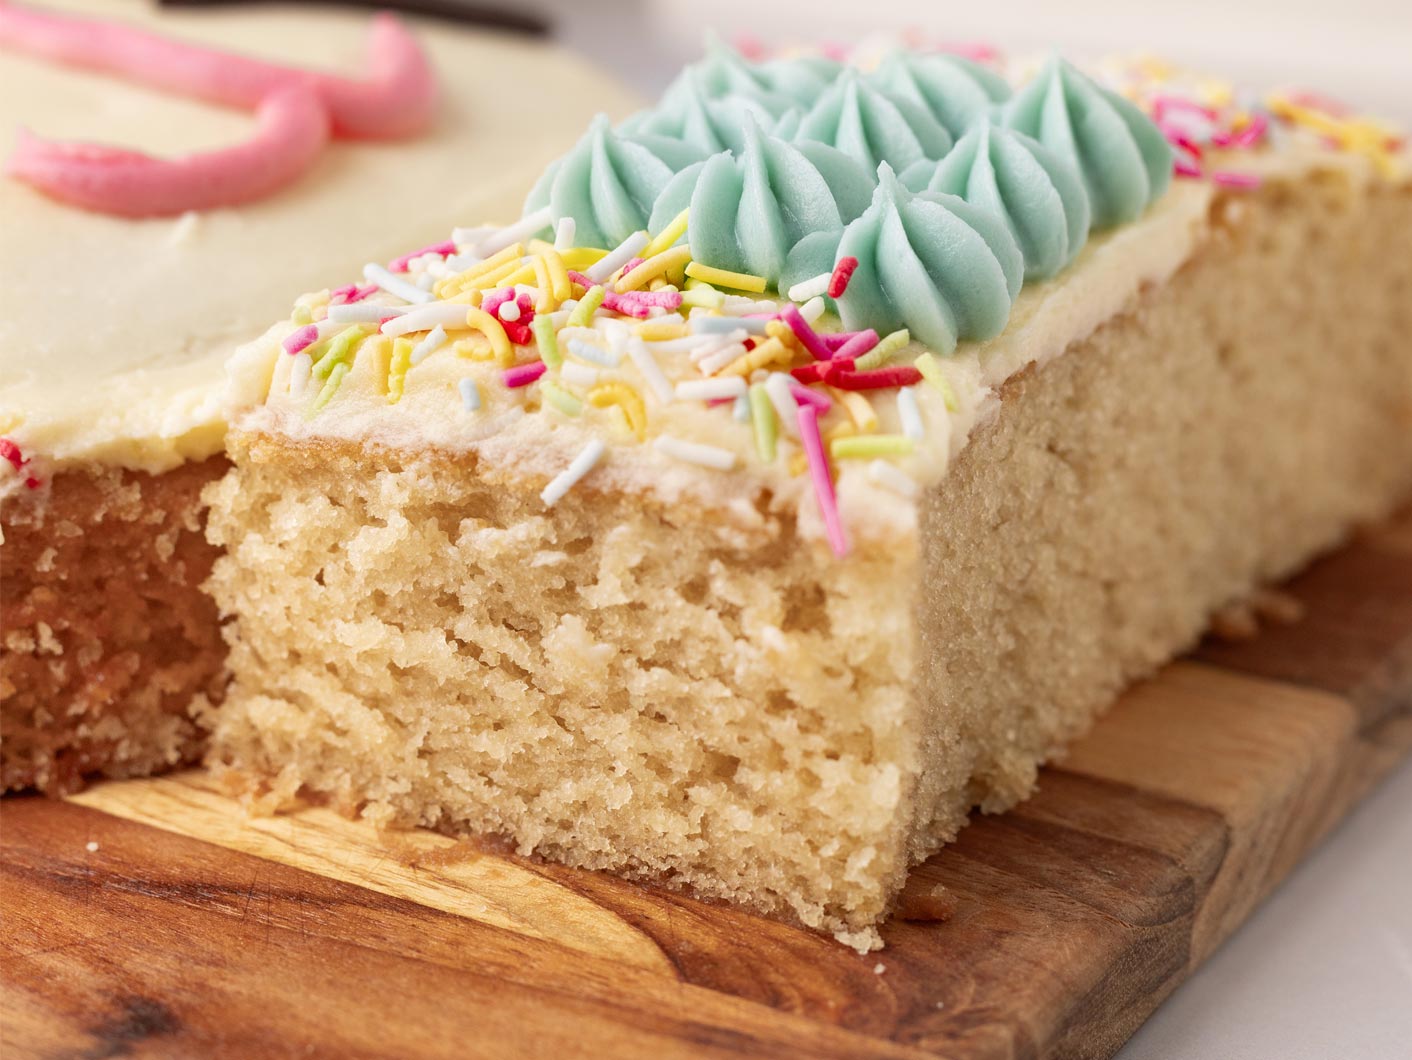
When the cakes have completely cooled, you can start assembling. From one cake, cut two bunny ears from opposite sides. The remainder of the cake will be the bow. On a large serving board or baking tray, arrange the cakes to make a bunny shape.
-
Step 7
Cover the top of the bunny in vanilla frosting. Use a piping bag to draw the ears, eyes, nose and mouth on the bunny, as desired. Cover the bow in extra frosting and/or sprinkles. Enjoy!
Did this hit the spot? Thank you!
Rate it to help others find new favourites! Your rating helps give the best recipes a boost.
Select a star to rate the recipe
Recipe: Rainbow Nourishments