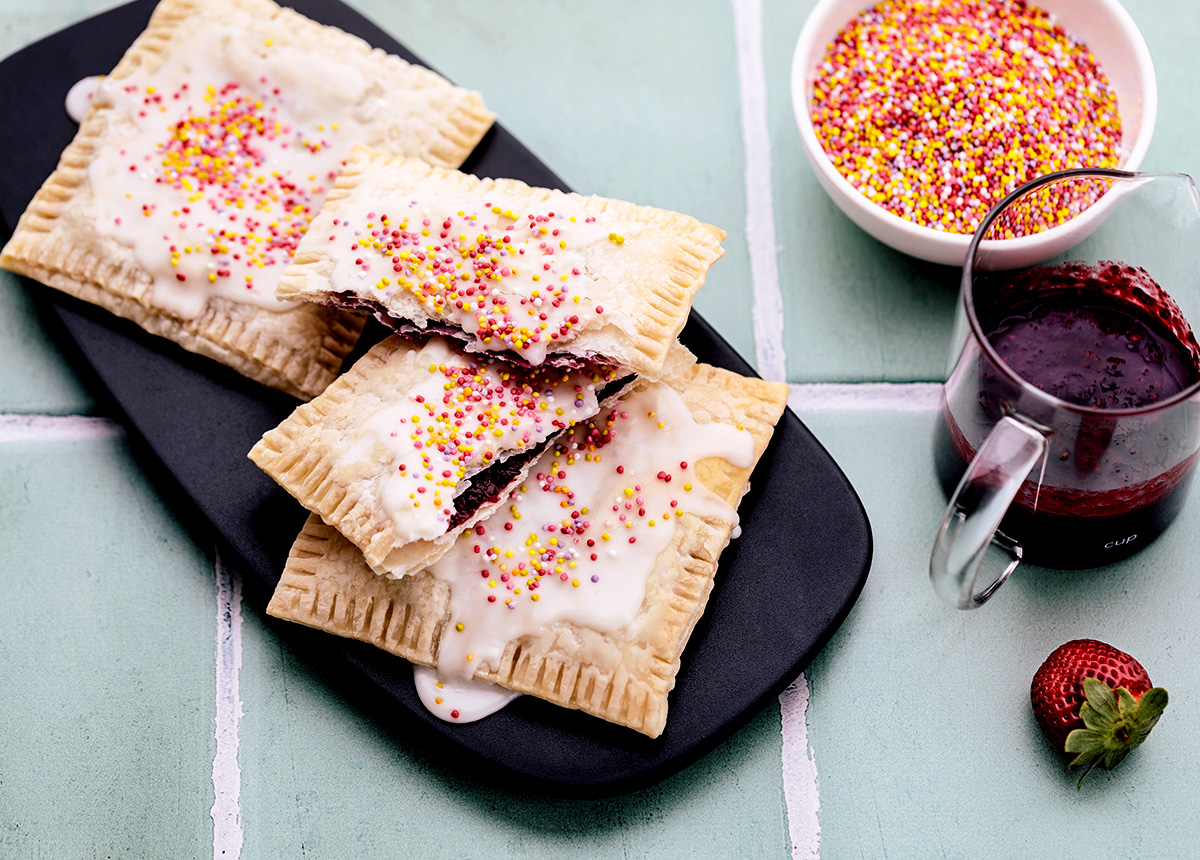
If you were lucky enough to enjoy the odd pop-tart during your childhood, then this treat will transport you back to the good ol’ days. And then you’ll wonder how you ever ate the boxed variety, which pales in comparison!
You will need
Makes 8
- 4 sheets plant-based puff pastry, defrosted
For the jam:
- 400g frozen mixed berries
- 120g jam sugar
- 1/2 lemon, juice only
For the glaze:
- 70g icing sugar
- 5g (~3/4 teaspoon) corn starch
- 25 ml oat milk
- 5ml lemon juice
For final topping
- 100s & 1000s
Recipe: Simon Toohey
Directions
-
Step 1
Start by making the jam: blend the frozen berries to a powder, or close to. Place in a pan on medium heat, add the sugar and lemon juice, and stir until the sugar has melted. Cook and reduce until the strawberry jam is thick and glue-like. Place into a container and cool in the fridge until really set.
-
Step 2
Preheat the oven to 150℃.
-
Step 3
Mix together all of the glaze ingredients — it should be a very thick consistency.
-
Step 4
Cut the pastry into quarters. Remove the cold jam from the fridge and place a nice even layer of filling on 8 pieces of pastry being careful not to overfill or go too close to the edges. Use a pastry brush to paint the edges of the dough with oat milk (your adhesive!). Place the second piece of cut pastry on top of the jam in line with the bottom pastry rectangle. Use a skewer or fork to push down on the edges and seal the pastry. Poke a few holes in each pop-tart with a skewer so they don’t rise too greatly when cooking.
-
Step 5
Place in the oven for about 20 minutes or until lightly golden brown on the edges. The pastry should be blonde but cooked through.
-
Step 6
Once the pastry has cooled, spread on the glaze with a knife, sprinkle over the 100s and 1000s, and serve up. (Or you can pop them in the oven to warm for a few minutes if you want a hotter pop-tart.) Enjoy!
Did this hit the spot? Thank you!
Rate it to help others find new favourites! Your rating helps give the best recipes a boost.
Recipe: Simon Toohey
