Sticky Date Pudding Recipe
Soy-free option
Nut-free option
Budget friendly
Freshly Picked
Kid-friendly
Baking
Comfort food
Entertaining
Desserts
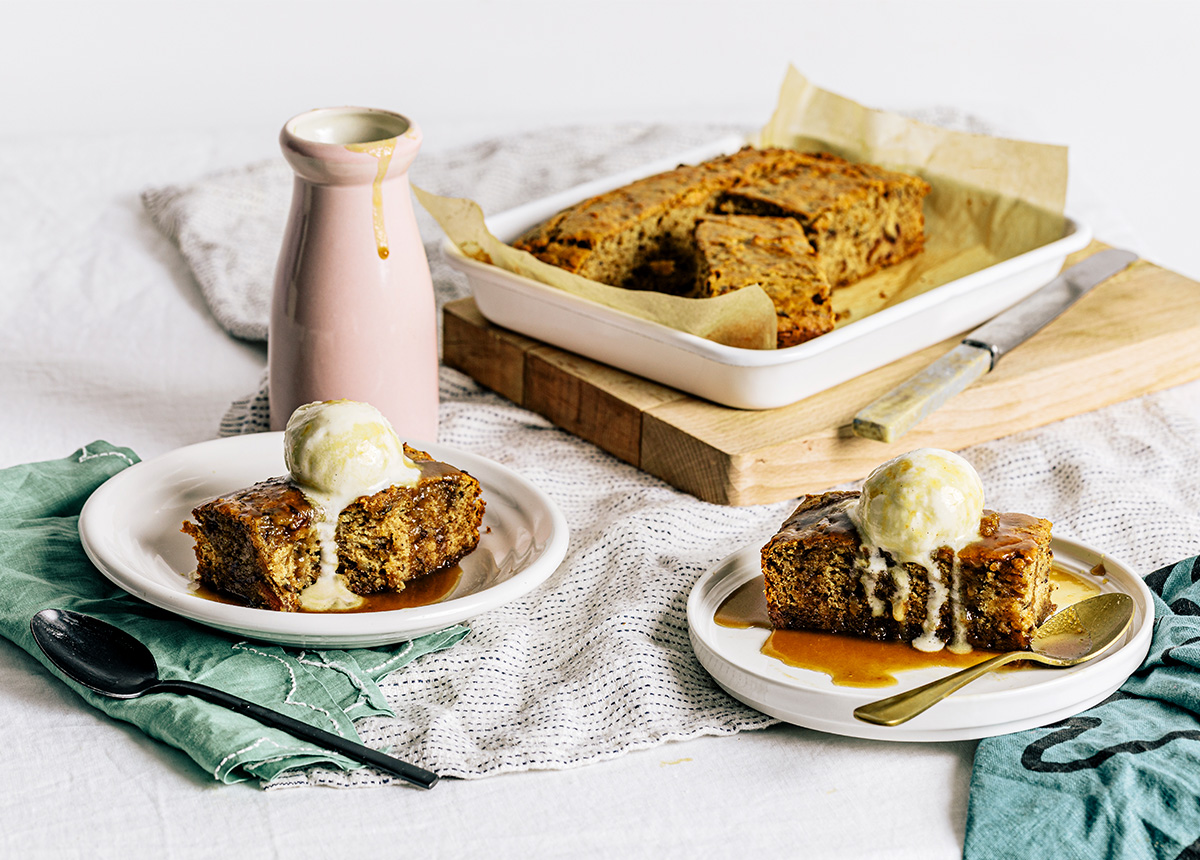
A classic for a reason — this delectable sticky date treat is best enjoyed fresh out of the oven, so toasty warm it melts your ice cream topping within minutes.
You will need
Serves 4
- 2 cups of dates, pitted and roughly chopped
- 1 cup soy milk (or plant milk of choice)
- 1/2 cup water
- 1 teaspoon vanilla extract
- 1 teaspoon baking soda
- 3/4 cup brown sugar
- 1 1/2 cups vegan margarine
- 1 1/2 cups self-raising flour
For the sauce:
- 1/2 cup vegan butter
- 3/4 cup brown sugar
- 1/3 cup coconut evaporated milk
- Pinch salt
To serve:
- Vegan vanilla ice cream (optional)
Recipe: Rebecca Veale
Directions
-
Step 1
Preheat your oven to 180℃ and grease a baking tin.
-
Step 2
Place the dates, milk, water, and vanilla in a saucepan and bring to a boil. Reduce to a simmer and cook for around 10 minutes. Stir in the baking soda and allow the mixture to cool.
-
Step 3
Beat the brown sugar and margarine together until smooth and creamy.
-
Step 4
Sift in the flour to your smooth sugar-margarine mixture. Then gradually add the cooled date mix, folding it in to create a batter. Do not over-mix.
-
Step 5
Pour batter into your tin and bake for around 20–25 minutes until it bounces back when pressed in the middle.
-
Step 6
To make the sauce, place the butter and sugar into a saucepan and heat on medium, stirring to melt the ingredients and combine until it has formed a syrup.
-
Step 7
Add the salt and evaporated coconut milk. Bring to the boil, then reduce to a simmer and cook until thickened. It will continue to thicken as it cools, so if you prefer a thicker sauce then give it a little more time!
-
Step 8
Serve the pudding warm, drowning in sauce with a big scoop of vegan vanilla ice cream.
Hot tip!
Can’t finish it all in one go? Pop individual slices in the freezer and simply microwave each piece when you’re ready to eat! It’ll keep well for a week. (probably longer, but who could let it sit there for a week?!)
Did this hit the spot? Thank you!
Rate it to help others find new favourites! Your rating helps give the best recipes a boost.
Recipe: Rebecca Veale
